How to Choose Mouse Pad Sublimation Designs for Your Desk
Learning how to choose mouse pad sublimation designs starts with the desk where the finished pad will sit. A round blank, a rounded rectangle and an extended mat leave different visible spaces around the mouse, hand and keyboard. This guide helps you compare the exact shape, keep meaningful details clear of edges and choose artwork that still makes sense when part of it is covered during ordinary use.
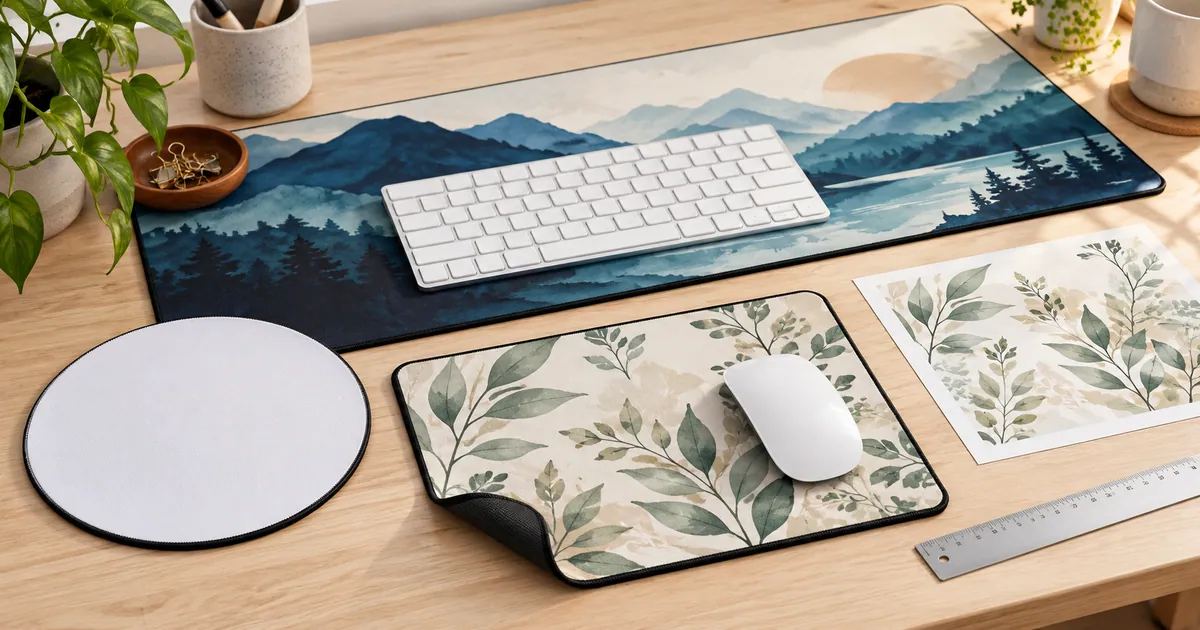
Quick Answer
- Choose the actual sublimation-compatible mouse pad and its template before selecting a round, rectangular or extended composition.
- Keep names and focal details inside the safe area, clear of rounded corners and any stitched border.
- Check the edge material: a white printable stitched edge and a black border require different layout expectations.
- Place the mouse and keyboard on an actual-size proof so you can see which parts of the design remain visible.
- For a wide desk mat, verify the source pixels and printable layout; an ordinary mouse-pad graphic does not automatically fit the larger area.
In this guide:
- Identify the Pad’s Exact Shape and Size
- Choose Artwork That Survives the Shape’s Crop
- Treat the Stitched Border as Part of the Blank
- Place the Focal Detail Where It Remains Visible
- Plan an Extended Mat Around Both Keyboard and Mouse
- Check the Complete Desk Layout Before Preparing the Transfer
- Checklist Before Choosing a Mouse-Pad Design
- Frequently Asked Questions
Identify the Pad’s Exact Shape and Size
Start with a blank intended for sublimation and confirm its printable face, fabric surface and dimensions. A pad’s rubber or silicone backing is not the same as its prepared top. Supplier ranges can include several thicknesses and shapes, so a familiar product label does not establish which template your own blank needs.
| Pad type | Verified model example | Layout question |
|---|---|---|
| Round | Brildor round blank: 20 cm diameter | Does the circular crop preserve the main motif? |
| Rectangular | Brildor rectangular blank: 23 × 19 cm | Do the composition and corner crop suit the rectangle? |
| Stitched rectangle | Brildor stitched blank: 23.5 × 20 cm | Which parts of the edge are printable? |
| Extended desk mat | JPPlus models: 24 × 14 in or 35 × 16 in | Can the artwork cover the wide surface and stay visible around equipment? |
These examples show why the same generic mouse-pad file size cannot stand in for every blank. Obtain the template for the model you choose, then check its physical edge and any additional bleed or safe-area guidance. Measure the actual pad if there is uncertainty before adapting the downloaded art.
Choose Artwork That Survives the Shape’s Crop
A round pad can suit a central animal, monogram or balanced floral arrangement. A rectangle gives more room for a horizontal scene or a motif beside a name. Neither guarantees that a complete rectangular picture will fit without losing important details, so place the composition inside the actual outline before deciding.
Keep the image’s proportions locked while resizing. If a round crop removes part of a phrase or a character, move the focal feature, use separate elements where the file supports them or choose another design. Stretching the art into the blank’s ratio can distort lettering and faces instead of solving the composition problem.
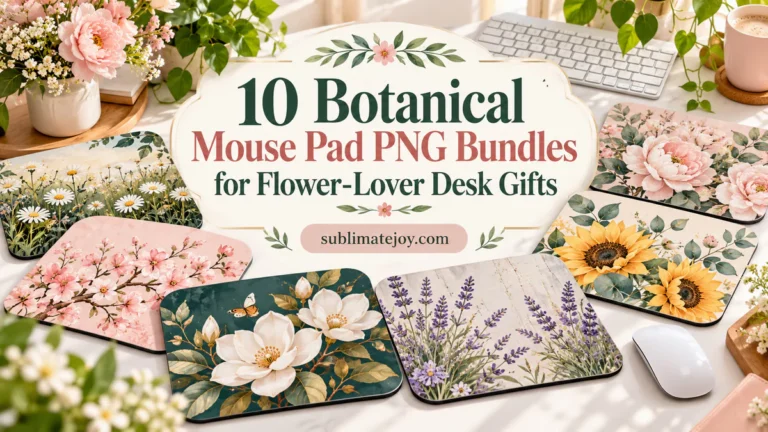
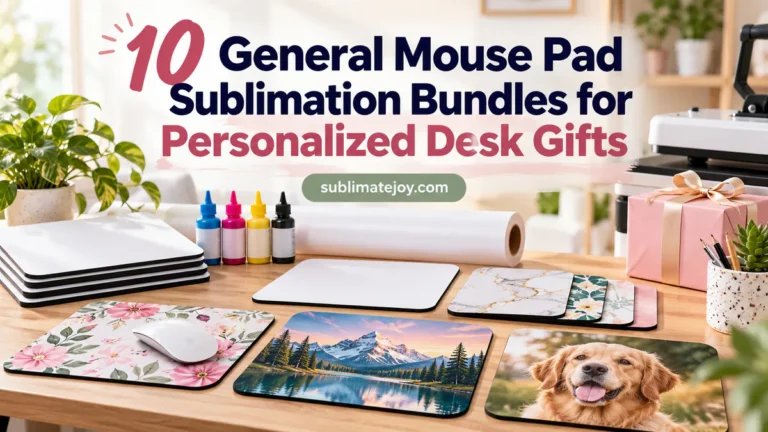
The general mouse-pad bundles offer scenes, initials and animal themes to compare. For a quieter botanical direction, the floral desk gift artwork includes different compositions and supplied formats. Inspect whether your chosen file is a finished rectangle, isolated motif or adaptable background rather than treating every bundle item as the same layout type.
Treat the Stitched Border as Part of the Blank
Look closely at the edge before planning full coverage. One supplier’s white polyester stitched model is described as printable including the edge, while an extended mat from another range has black stitched edging. Do not assume that stitching always prints the same way, or that the artwork will cover a dark border simply because the center is white.
Keep essential lettering and detailed motifs inward from the physical edge and stitching. An illustration can continue visually toward a border, but a thin decorative frame positioned exactly on the seam gives little room for placement variation. A background with less precise edge detail can be easier to adapt when the outline has rounded corners.
Use the template’s safety and bleed instructions for the specific blank. A bleed region lets background extend beyond the physical edge; the safe region protects content you want to retain. Those are separate decisions. Check the template key rather than assigning your own universal margin, and exclude all guide lines from the final transfer file.
Place the Focal Detail Where It Remains Visible
Put the actual mouse on a paper layout and consider how you normally use it. The mouse and hand can cover a central name or small character for much of the day. If that detail matters, compare a position nearer an exposed corner or another open area while keeping it inside the template’s safe zone.
This is a visual placement decision, not a promise about sensor tracking or gaming performance. Choose the pad’s material and equipment compatibility from its manufacturer guidance. For the design, judge what you can see when the desk is in use, rather than only when the pad is photographed without anything on it.
On a teacher’s desk, an initial or school motif can sit beside the mouse rather than directly beneath it. The teacher mouse-pad designs help compare those ideas. For a seasonal gift, the Christmas desk designs provide complete scenes and characters; consider whether the recipient wants an explicitly festive motif on the desk all year.
Plan an Extended Mat Around Both Keyboard and Mouse
An extended mat is a wide layout project, not just an ordinary mouse pad enlarged. Place the keyboard, mouse and any wrist rest within its proposed outline to see how much of the center is covered. A landscape or repeating pattern can remain visually connected around those objects, while a single small central character may disappear beneath the keyboard.
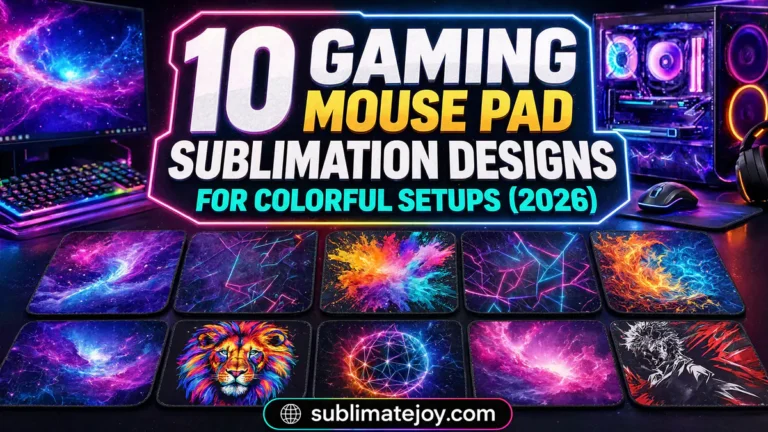
The gaming desk artwork includes graphics listed around ordinary mouse-pad dimensions. A gaming theme alone does not establish an extended-mat layout. Confirm whether the file offers enough usable area or separate elements to create the wider arrangement, and avoid stretching a compact controller graphic across the full width.
Calculate raster requirements from your planned physical size and workflow. At a target of 300 pixels per inch, a 24 × 14 inch layout needs 7200 × 4200 pixels before any template-specific bleed. Check the available printing and pressing setup for that actual mat too. The file formats guide explains why a resolution label cannot supply the extra detail needed for a larger print.
Check the Complete Desk Layout Before Preparing the Transfer
Build the proof around the actual pad and desk arrangement. The important checks are the crop, edges, visible focal area and any personalization, not whether the screen preview looks large enough. If you add a name, confirm that the supplied artwork supports the edit or leaves suitable open space for separate lettering.
- Confirm the exact blank, printable face, dimensions and edge material, then open the matching supplier template.
- Place the chosen composition inside the outline with its aspect ratio preserved; inspect the round crop or rounded corners.
- Keep the name and focal motif inside the safe area, and plan background coverage according to the actual border and bleed guidance.
- Check raster pixels at the intended print dimensions and confirm the layout fits your printing and pressing setup.
- Print an actual-size paper layout with automatic scaling disabled, or make a measured full-size paper outline for an extended mat.
- Position the mouse, keyboard and wrist rest as they will sit on the desk; review the artwork that remains visible.
- Hide template guides and follow the blank supplier’s transfer, pressing and handling instructions for that material.
A paper proof helps establish placement and readability rather than final transferred color. For a wide mat, keep the full-size outline for desk planning even if the artwork proof uses smaller sheets; do not infer the final transfer method from those paper layout pieces.
Checklist Before Choosing a Mouse-Pad Design
- The blank is intended for sublimation and the printable face is confirmed.
- The template matches the exact shape and model dimensions.
- The composition preserves its proportions and survives the required crop.
- Key details sit inside the safe area, clear of corners and stitching.
- The design accounts for a white printable edge or a black border as appropriate.
- The mouse, hand and keyboard do not obscure the details you most want to see.
- Any name or initial can be added or changed as intended.
- Source pixels and the printing setup support the full chosen area.
- A measured paper layout has been checked on the actual desk arrangement.
Find Designs for Your Project
Compare the motif and actual supplied dimensions after choosing the blank and desk arrangement.
- General mouse-pad artwork bundles — compare scenes, initials and animal motifs for different desks
- Gaming-themed mouse-pad artwork — check whether the supplied compact layouts support your chosen pad
- Botanical mouse-pad designs — look for a floral crop or pattern that suits the visible area
- Teacher desk artwork — compare classroom motifs and personalization space
- Christmas mouse-pad designs — choose a seasonal scene with its important details visible during use
Frequently Asked Questions
Can a rectangular design be used on a round mouse pad?
Sometimes, after a deliberate circular crop. Preserve the artwork’s proportions and keep the main motif and words inside the round template. Choose another composition if the crop removes important details.
Are all stitched edges printable?
No universal assumption is safe. Some models describe a white printable stitched edge, while others use black edging. Check the exact blank’s material and instructions, and keep essential details away from the border.
Does a gaming design automatically fit an extended desk mat?
No. The theme does not establish the supplied dimensions. Check the full physical layout, source pixels and visible space around the keyboard rather than enlarging an ordinary mouse-pad file without inspection.
Where should I put a name on a personalized pad?
Choose an exposed area inside the template’s safe zone, then check it with the mouse and keyboard in their normal positions. A central name can be covered during use even when it looks clear in a mockup.
Choose the Design for the Desk in Use
Match the actual pad and its edge first, then inspect the crop with the equipment in place. A composition that remains clear around the mouse and keyboard can make the desk personal while keeping its most meaningful detail visible.