How to Choose a Sublimation Jersey Template for Your Team
Learning how to choose a sublimation jersey template means checking more than a striking uniform preview. The artwork must suit your sport, leave room for player details and fit the actual production layout your provider uses. This guide helps you separate a design pattern from a garment template, check what you can edit and prepare a clear front-and-back concept before committing to your team kit.
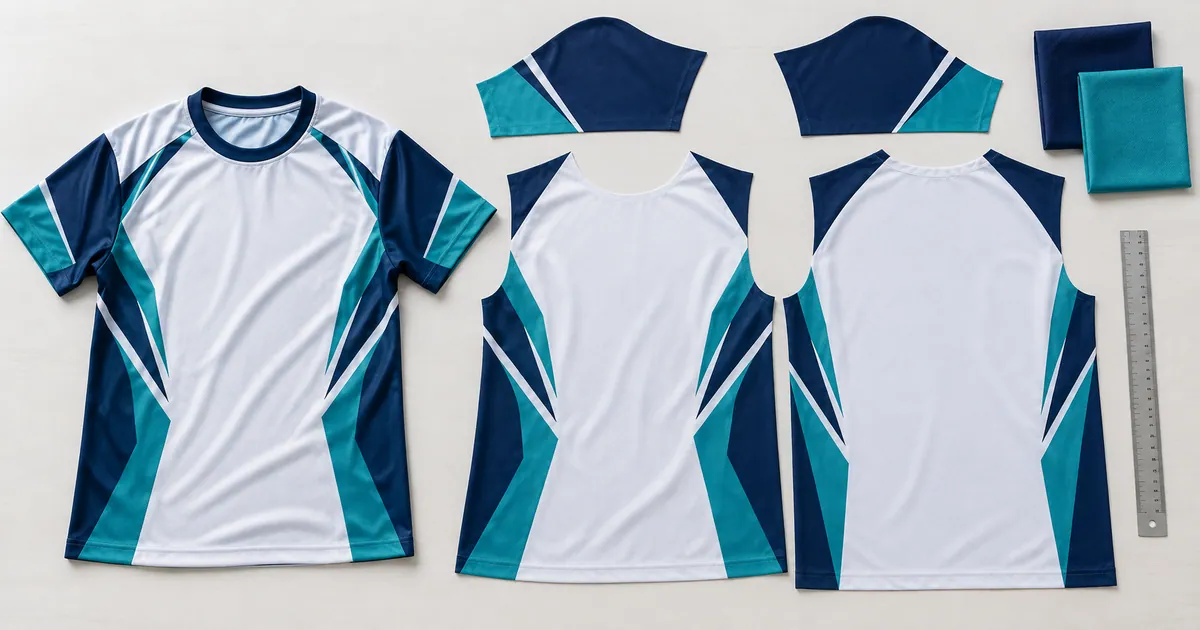
Quick Answer
- Get the exact garment model and production layout from the kit provider before adapting the artwork.
- Check whether the download contains a background pattern, editable design concept, mockup or an actual size-specific production template.
- Keep player names and numbers on calm, contrasting areas away from seams, trim and heavy pattern detail.
- Verify editable objects, fonts and software compatibility; a vector extension alone does not establish what you can change.
- Confirm team colors on the intended fabric and check every player’s details, garment size and panel layout before approving output.
In this guide:
- Start With the Sport and the Exact Garment Model
- Separate the Artwork From the Production Template
- Check Editability in the Software You Will Use
- Give Names and Numbers Their Own Readable Space
- Plan the Design Across Seams and Trim
- Check Team Colors and the Intended Fabric
- Review the Whole Team Set Before Approving the Files
- Checklist Before You Choose the Jersey Template
- Frequently Asked Questions
Start With the Sport and the Exact Garment Model
Choose the garment before choosing the pattern. A sleeveless basketball jersey, short-sleeved soccer shirt and cycling top can have different necklines, sleeve arrangements, side panels and trim. Their illustrations may share a color palette, but their production outlines are not interchangeable. Confirm the sport, intended garment style and supplier’s size range first.
Ask the kit provider for the actual front, back, sleeve and other relevant panel files for the chosen model. Check whether shorts or trousers are a separate part of the project. A mockup showing a complete uniform does not prove the download contains artwork or templates for every piece shown.
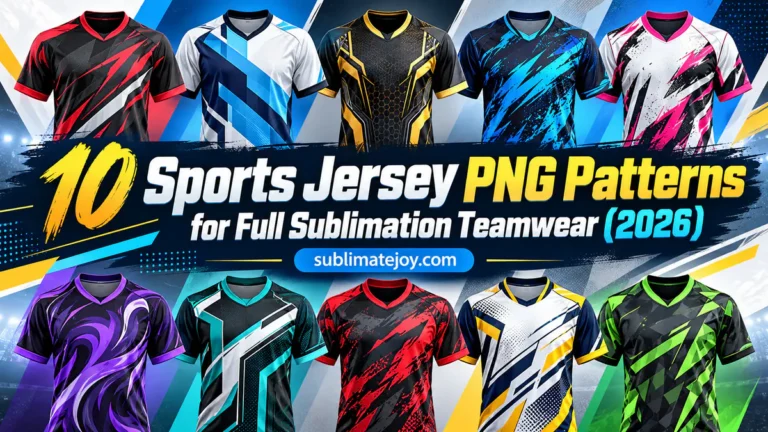
The soccer jersey design collection and cricket kit concepts can help you compare visual directions. Use those directions as starting ideas, then fit the chosen artwork to the provider’s actual garment layout.
Separate the Artwork From the Production Template
The word template can describe several different things in a jersey download. Decide which job the file performs before relying on it. A background can supply the visual style, an editable concept can show how that style might look on a uniform, and a production template defines the specific shapes used for output. One download may include more than one of these, but verify the file list.
| File type | Useful for | What you still need to verify |
|---|---|---|
| Artwork pattern or background | Choosing motifs and a color direction | How it maps onto your actual garment panels |
| Editable uniform concept | Adjusting colors and positioning player details | Whether front, back and sleeves are separate editable objects |
| Mockup or preview image | Visualizing the finished look | It is a preview, not evidence of included production files |
| Size-specific production layout | Placing artwork within the provider’s panel geometry | Correct model, size, seam allowances and output requirements |
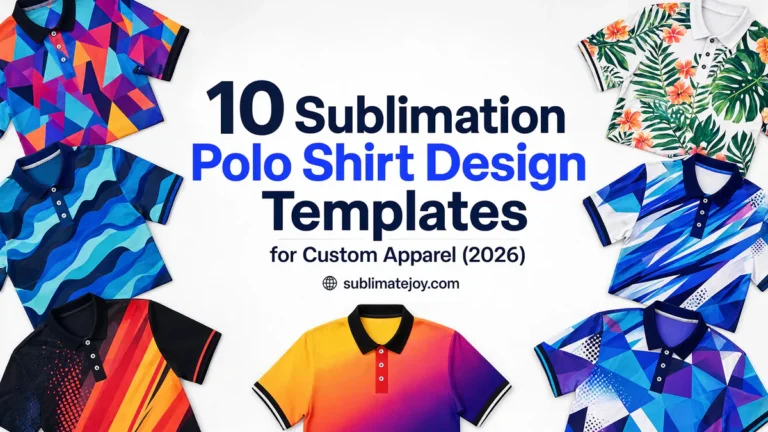
Browse the jersey design template selection with those distinctions in mind. Do not assume that a design pictured on a shirt includes a graded cutting pattern or a full set of production sizes.
Check Editability in the Software You Will Use
AI and EPS formats can be useful for resizing and recoloring vector objects, while a layered design may let you move separate elements around player information. However, those extensions can also contain embedded raster artwork or outlined lettering. Confirm the actual contents and your software’s compatibility before choosing a file for extensive customization.
A PNG or JPG usually provides a finished pixel image. Its team name or example number may not be a separate text object. If you want to change colors throughout a geometric design, a flattened version may require more work than a file with independently editable shapes. Decide what needs to change, then compare the formats supplied for that task.
Check fonts separately from the artwork. Live text may require a font that is not included; outlined text preserves its shape but is no longer a normal editable word. A preview with a player’s surname is not proof of a working personalization field. The sports jersey pattern roundup provides different file-format examples to compare.
Give Names and Numbers Their Own Readable Space
Treat the player information as part of the layout from the beginning. Put a placeholder for the longest surname and a wide two-digit number into the concept before filling the remaining space with pattern. A design that fits a short name and a narrow digit may need a different arrangement for other teammates. Use placeholders for planning, then replace them with confirmed player details.
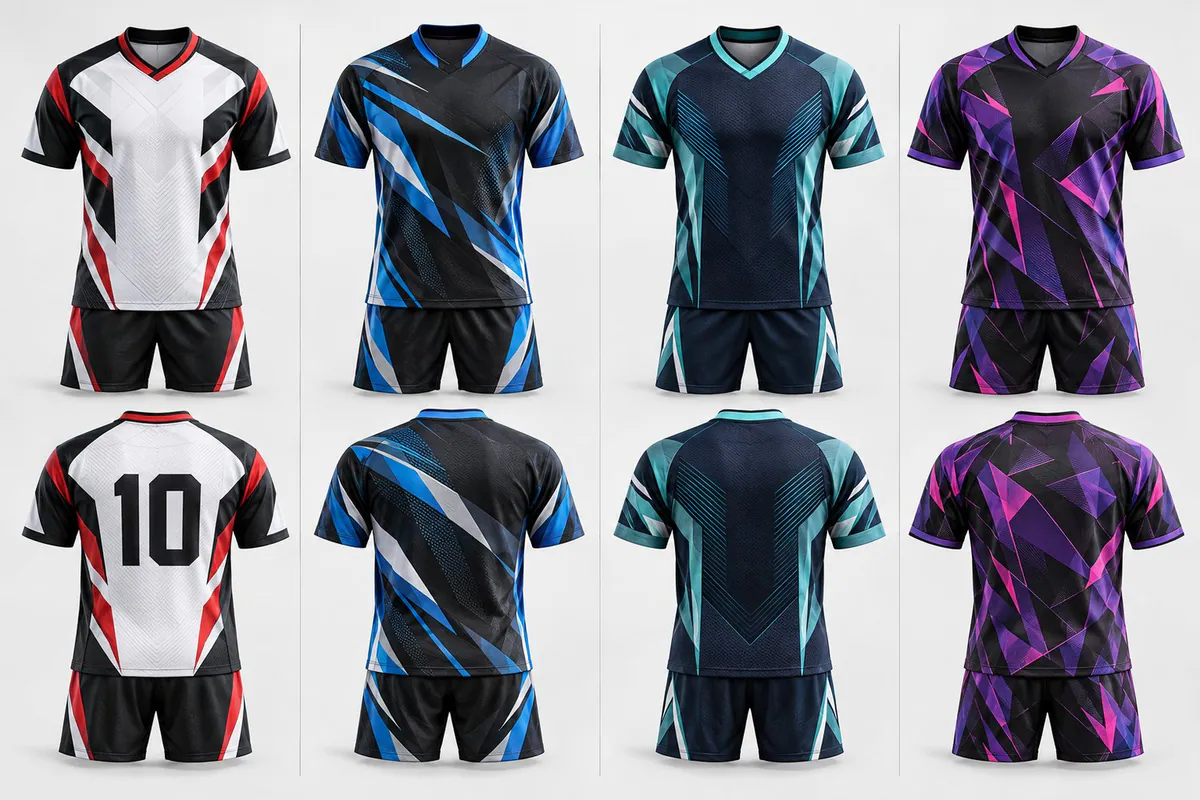
The mockups above show how a calm light back panel separates a dark number from the surrounding graphics. Busy triangles or intersecting lines behind the same number can reduce its visual clarity. Choose contrasting lettering and keep an uninterrupted region around it rather than relying on an outline to overcome every background pattern.
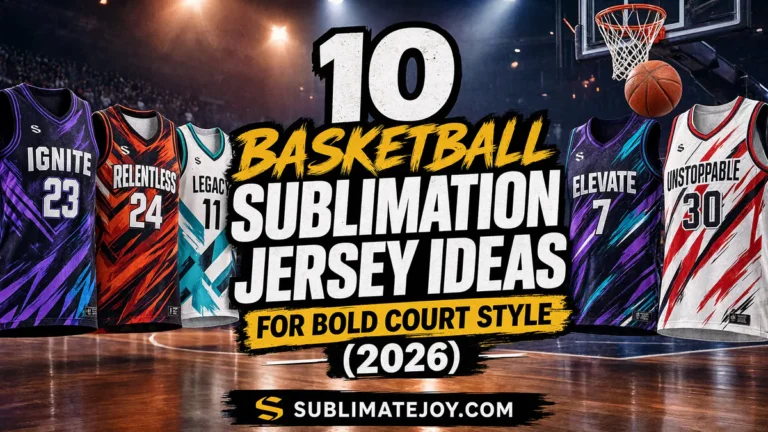
Confirm any number size, logo placement or other uniform requirements with the team and kit provider for the intended competition. Keep the name and number inside the safe region for the actual back panel. The basketball court-kit graphics help compare layouts with different areas reserved for player information.
Plan the Design Across Seams and Trim
View the front, back and sleeves together, but judge each within its own production outline. A strong line crossing the side seam needs deliberate positioning on both adjoining panels. A small club mark should not sit partly outside the safe area or disappear into the collar, cuff or a seam allowance. Ask the provider how those boundaries are represented in its template.
Continue expendable backgrounds into the specified bleed, while keeping names, numbers and important marks inside the indicated safe region. Do not add a universal allowance around every panel. Templates differ, and the file may already contain the required extra area. Keep guide layers visible while arranging the design and hide them at output as the provider requires.
Avoid promising perfect stripe continuity from a flat mockup alone. The final relationship depends on the panel shapes, garment size and assembly. A pattern with broad color blocks can be more forgiving than one thin line whose alignment is essential. Review the smallest and largest required layouts rather than simply enlarging a single completed concept.
Check Team Colors and the Intended Fabric
Confirm whether the job is an all-over cut-and-sew uniform or decoration on a finished garment. For cut-and-sew work, the provider prints the required panel artwork on suitable fabric before assembly. A finished jersey has its own accessible print areas, seams and existing colors, so a full-body concept does not establish that it can be applied with the same process.
For direct dye sublimation, use fabric suitable for that process; light polyester is a familiar choice. Confirm the exact fabric and equipment workflow with the supplier instead of choosing a cotton shirt because its silhouette resembles the preview. Do not infer stretch, breathability or a particular fabric weight from the design file itself.
Use the team’s confirmed color references and the provider’s requested output settings. A monitor preview is not a guarantee of the printed result. When matching an existing kit, ask for a color proof on the intended fabric before approving the full set. Keep the same approved references across shirts, shorts and alternate colorways, while reviewing readability on each.
Review the Whole Team Set Before Approving the Files
Keep the player list and artwork organized so that the right name, number and size travel together. A visually consistent set can still contain a spelling error or an incorrect back layout. Review the design at its intended physical size where possible, and use a mockup only to assess the overall visual idea, not to prove its manufacturing fit.
- Record the garment model, size range and required panels. Obtain the provider’s template and output requirements.
- Open the included files and confirm which objects, colors and text can actually be edited in your software.
- Place the main artwork within each production outline, then check safe areas, seams and background bleed together.
- Insert the confirmed player names and numbers. Review the longest name, widest number and the smallest and largest required garment layouts.
- Compare front and back mockups for readable contrast and consistent team colors, then obtain the provider’s appropriate physical color proof if matching matters.
- Hide temporary guides and placeholders before preparing final output. Name the files clearly by player, size and panel, and obtain approval of the complete details before production.
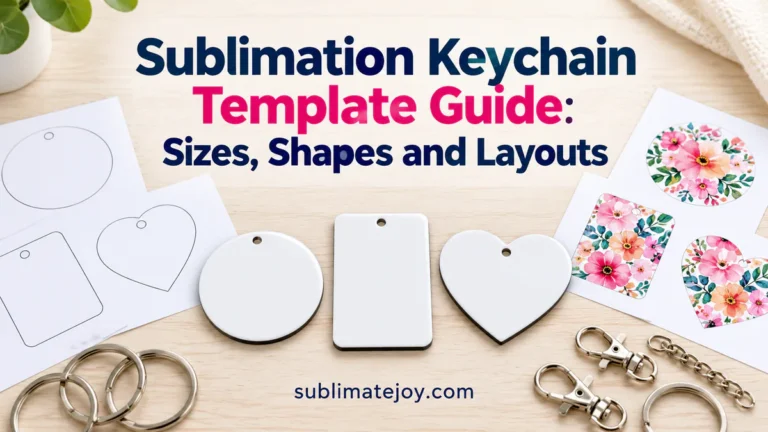
If you are adding matching player keychains to the kit gifts, use the keychain template guide for its separate hole and small-lettering checks. The jersey arrangement should not be reduced unchanged onto that smaller accessory.
Checklist Before You Choose the Jersey Template
- The concept suits the sport and exact garment model.
- The download’s artwork, mockup and production-template roles are clear.
- Required front, back, sleeve and other panel files are confirmed.
- The supplied formats open correctly and support the edits you need.
- Fonts and personalization fields are available as required.
- Names and numbers have readable contrast and sufficient safe space.
- Important details avoid seams, collar and cuff areas.
- Team colors and fabric are confirmed with the kit provider.
- Every player’s spelling, number, size and final panel files agree.
Find Designs for Your Project
Compare the visual direction and included files before adapting a concept to your provider’s layout.
- Multi-sport jersey design templates — compare editable concepts, patterns and larger design sets
- Sports jersey sublimation patterns — inspect the listed vector and raster formats
- Soccer jersey design ideas — compare football-kit color blocking and player-detail areas
- Cricket jersey concepts — check which designs cover shirts or additional kit pieces
- Basketball court-kit graphics — compare layouts for names, numbers and side panels
Frequently Asked Questions
Does a jersey design template include a cutting pattern?
Not necessarily. It may contain artwork, an editable concept or a mockup. Check the file list and obtain the size-specific production layout for your actual garment from the kit provider.
Can I use one jersey concept for different sports?
You can reuse a suitable visual direction, but different sports and garment models may require different panels, necklines and player-detail positions. Fit the artwork to each production template separately.
Are player names editable in every vector file?
No. Text may be outlined, embedded as pixels or dependent on a separate font. Confirm the included objects and formats before choosing a template for player personalization.
Can I approve team colors from a screen mockup?
Use a mockup to compare the overall direction, but do not treat it as a guarantee of printed color. Confirm the references and request the provider’s appropriate proof on the intended fabric.
Choose the Concept That Your Team Can Actually Use
A suitable template gives the artwork, player details and production panels room to work together. Keep the garment model, approved colors and player list with the final files so the finished kit follows a clear layout rather than an attractive preview alone.