How to Choose Mug Sublimation Designs That Fit Your Mug
Wondering how to choose mug sublimation designs that actually fit? Separate the artwork you enjoy from the layout your mug can carry. Capacity alone does not tell you the printable width, height or gap beside the handle. Use this guide to compare common 11 and 15 oz layouts, choose a wrap or central illustration, and inspect a full-size paper proof before preparing the transfer.
Quick Answer
- Choose a coated sublimation mug and use the template for its exact model; 11 or 15 oz is only a starting description.
- Compare wrap width, height and handle clearance rather than stretching one size to fit another.
- Pick a full wrap, one focal print or two opposite prints according to how the recipient will hold and view the mug.
- Keep faces and wording within the safe area, clear of the handle, rim and base transitions.
- Inspect source pixels and an actual-size paper proof before following the blank supplier’s pressing instructions.
In this guide:
- Compare 11 and 15 oz Wrap Sizes With Your Exact Blank
- Choose a Wrap, a Central Print or Two Side Prints
- Keep the Main Feature Clear of the Handle Gap
- Check Pixels and Lettering at the Finished Print Size
- Match the Theme to How the Mug Will Be Used
- Wrap a Paper Proof Around the Mug Before Printing
- Checklist Before You Choose a Mug Design
- Frequently Asked Questions
Compare 11 and 15 oz Wrap Sizes With Your Exact Blank
Read the blank description for its coating, model and printable area. A household ceramic mug can look like a sublimation blank without having the required surface. Even among suitable blanks, differences in height, diameter, handle attachment and curve can change the template. Use a wrap size in a design listing as something to compare, not a promise of fit.
| Mug capacity | Common design-file layout | One supplier’s template example |
|---|---|---|
| 11 oz | 8.5 × 3.5 in | 8.5 × 3.5 in overall; 8.25 × 3.25 in safe area |
| 15 oz | 9 × 4 in | 8.75 × 4.25 in overall; 8.5 × 4 in safe area |
The supplier examples above come from a published ceramic mug template set. They illustrate why the label 15 oz is insufficient: a common artwork file can be wider and shorter than another supplier’s layout for that capacity. Check your own template and equipment coverage before changing the file. Never combine the table’s dimensions into a new universal size.
Tip: Keep proportions locked while resizing. If the aspect ratios differ, choose the correct size version or crop nonessential background rather than stretching a face or letter.
Choose a Wrap, a Central Print or Two Side Prints
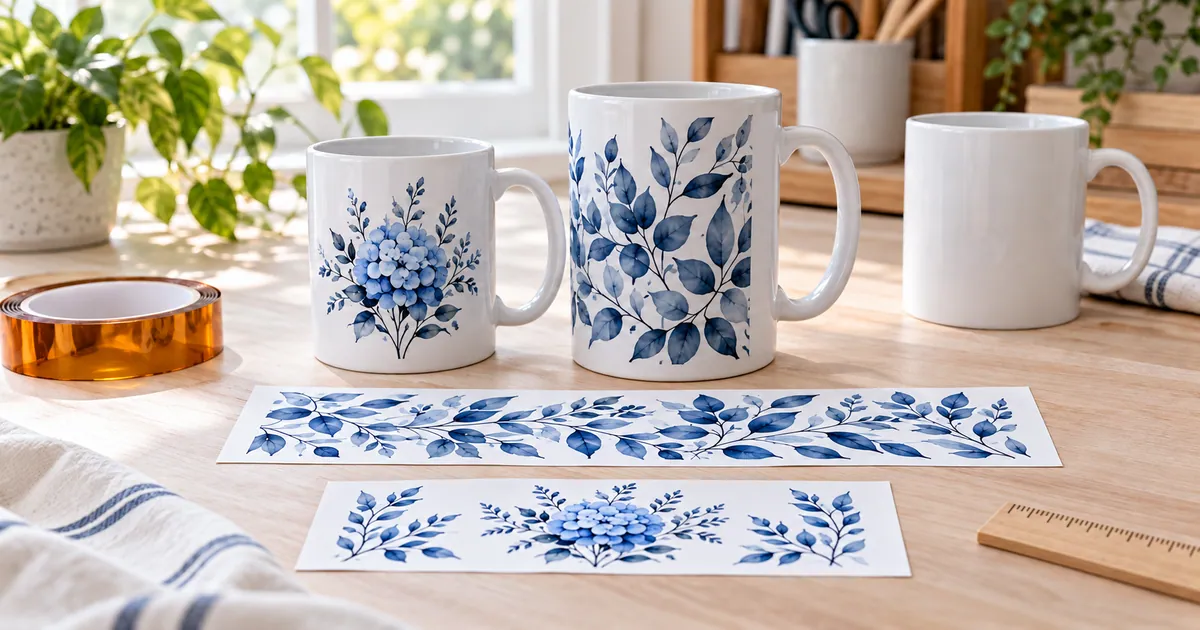
A full wrap spreads the image around the body and suits a pattern or scene. A central print uses a smaller area for one illustration or phrase, leaving a visible white border. Two side prints repeat or coordinate focal graphics on opposite sides, so the artwork can be enjoyed from more than one direction. Choose the finished arrangement before browsing themes.
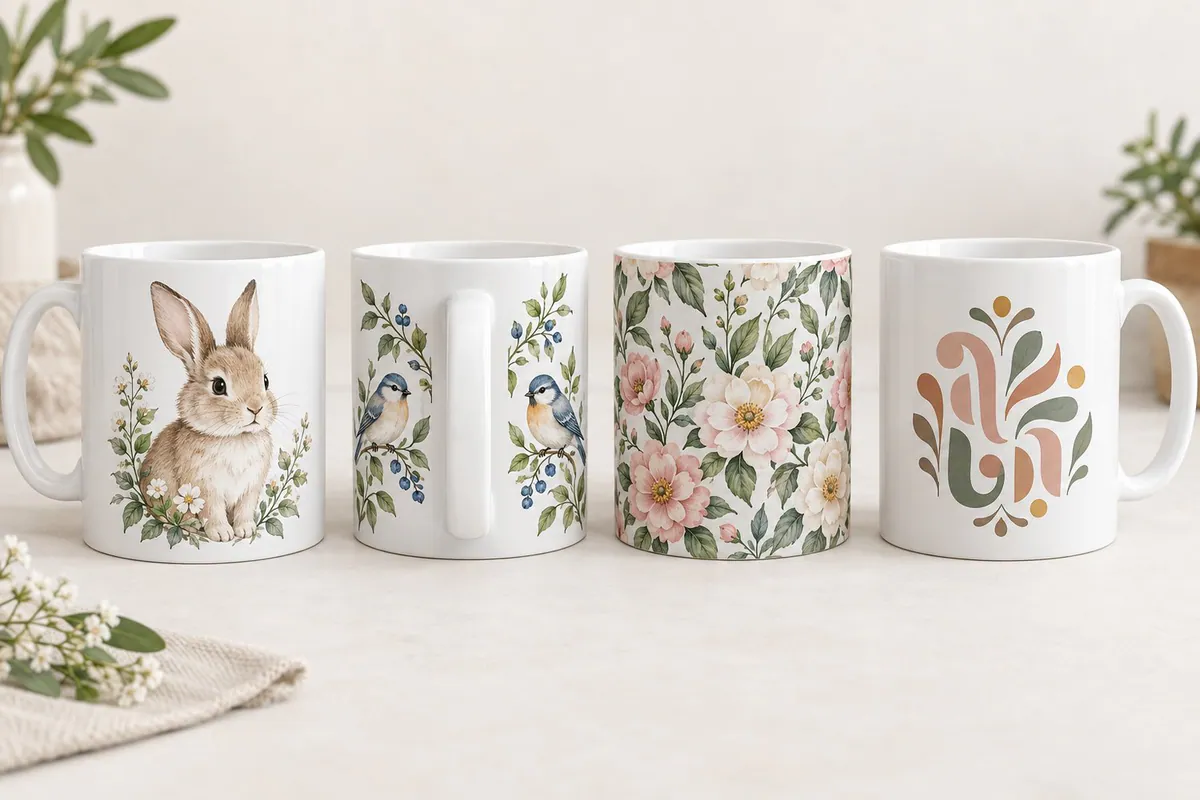
A large panoramic scene needs enough uninterrupted background near its ends. A name, animal portrait or compact quote often benefits from a focal layout that does not require a continuous seam. The mug design collection offers several visual directions; judge each by the placement of its important features, not only by the flat preview.
If you want a pair of mugs, a shared palette can connect them without identical compositions. Keep each design appropriate to its own blank. A motif placed on one side of an 11 oz mug does not have to expand into a full wrap on a taller mug.
Keep the Main Feature Clear of the Handle Gap
The useful wrap width stops before the area your supplier excludes beside the handle. Mark both ends of that printable band on a paper outline. Keep the beginning and end of a quote together on a visible side rather than letting them split around the handle. A face should also remain complete when the mug is turned toward the viewer.
Decide what the recipient sees while holding the mug and what someone across the table sees. Hold an empty mug in the preferred hand, then place the paper design where it makes sense from those views. A right-side and left-side print can solve different viewing needs; there is no single placement that suits every person’s grip.
Follow the safe region around the rim, base and handle attachments. A press may not make equally effective contact in every curved area. Do not fill those spaces simply because the image can be enlarged there on screen. For wrap files, inspect whether moving one focal detail is possible or whether a different composition would fit more naturally.
Check Pixels and Lettering at the Finished Print Size
For a 300-pixels-per-inch target, an 8.5 × 3.5-inch layout requires 2550 × 1050 pixels, while a 9 × 4-inch layout requires 2700 × 1200 pixels. Calculate from the dimensions you will actually print if your supplier specifies a different template. A file’s DPI metadata does not replace this check: enlarging a small image spreads the existing pixels over more paper.
Inspect narrow letter strokes, tiny decorative stars and the edges of the main illustration on a real-size print. If a long saying becomes cramped, choose a shorter phrase or an arrangement with fewer decorative elements. A white margin around a clear message is more useful than filling every available inch with unreadable detail.
A PNG can carry transparent areas; a JPG has a fixed background. Neither file extension guarantees enough pixels. Likewise, a printed name in the mockup does not prove the supplied file has editable lettering. Check whether you receive finished art, separate elements or an editable layout before planning personalization.
Match the Theme to How the Mug Will Be Used
Start with the recipient’s everyday preferences: an animal they love, a reading motif, gentle florals or a phrase they actually enjoy. Then decide whether the mug is intended for one holiday or year-round use. A Christmas scene can be perfect for a cocoa gift basket, while a botanical focal print may fit a daily desk mug better.
For holiday artwork, compare the Christmas mug wraps. For more layout options, the coffee-gift mug wraps include files whose listed 11 and 15 oz versions can be checked against your blank. Choosing a theme and choosing a size remain separate decisions.
If adding a name, reserve a calm part of the design instead of placing the text over detailed foliage or faces. Confirm spelling and letter contrast in the final layout. Choose a single appropriate file for one gift; a larger bundle is only useful when its included sizes and motifs match the projects you plan.
Wrap a Paper Proof Around the Mug Before Printing
A paper mockup lets you check proportion, handle clearance and viewing direction together. It cannot predict the final sublimated colors or establish the right press settings, but it can reveal a misplaced face, an overly tall image or a phrase that disappears around the curve. Use ordinary paper for this layout check and keep it distinct from the final sublimation transfer.
- Open the verified template in physical units. Place the artwork and compare its width and height with the allowed print region.
- Print the unmirrored layout proof at actual size with automatic page scaling disabled. Measure the print with a ruler.
- Wrap the paper loosely around the mug. Check the two ends near the handle and the clearance at the top and bottom.
- Hold the mug as the recipient would. Read the message from both viewing directions and check which part of a scene disappears around the curve.
- Adjust the crop or placement, then inspect another proof if the layout changed. Remove temporary template guides before output.
- Prepare the transfer with the mirroring and printer settings required by your workflow. Mirror only once, then follow the exact blank and equipment instructions for pressing and cooling.
Tip: Check the label on your prepared transfer. A paper proof for an 11 oz blank should not be mixed with a similarly themed 15 oz file when making several gifts.
Checklist Before You Choose a Mug Design
- The mug has a surface explicitly intended for sublimation.
- The template belongs to the exact blank model.
- The chosen size version agrees with the allowed print area.
- The focal composition suits the intended viewing direction.
- Names and faces stay clear of the handle and curved transitions.
- Pixel dimensions support the final layout at the intended print density.
- Small lettering remains readable on a measured paper proof.
- Any needed editable text or separate elements are actually included.
- The transfer and press instructions match the blank and your equipment.
Find Designs for Your Project
Choose the composition first, then compare the files included with the artwork.
- Mug designs for personalized drinkware — compare focal themes and panoramic artwork
- Colorful coffee-gift mug wraps — look at the listed 11 and 15 oz file versions
- Christmas mug wraps — find seasonal scenes for holiday drinkware gifts
Frequently Asked Questions
What size should an 11 oz mug wrap be?
A common design layout is 8.5 × 3.5 inches, but it is only a starting point. Use the dimensions, safe area and handle clearance specified for your actual coated mug.
Can I enlarge an 11 oz file for a 15 oz mug?
Only if the source has enough pixels and its proportions suit the new template. Avoid independent width and height stretching. Prefer the supplied 15 oz version when its dimensions match your blank.
Does a mug need artwork all the way around?
No. One central print or two coordinated side prints can be intentional choices. A full wrap is useful for continuous patterns, but clear placement matters more than covering every part of the surface.
Can I use a tumbler wrap on a ceramic mug?
Do not assume the layouts are interchangeable. Tumblers have different proportions and may require tapered artwork. Compare the correct template and select a mug-specific file when cropping would remove important details.
Choose a Mug Design That Fits in Real Life
Keep the approved paper layout and the exact blank information beside your chosen file. When the handle gap, proportions and lettering are settled, you can move to the transfer knowing which parts of the artwork the finished mug should display.